 I found this old chair in the same second-hand shop as the wooden chest I wrote about a few months ago. The chair was sitting on the nature strip, propping up the ‘now open’ sign. It was exactly what I’d been on the lookout for in every antique place on the road from Melbourne to Port Fairy.
The paint work was a mess and there was a serious break in one of the front legs, but the chair was otherwise in good condition. How old is it? Just guessing, maybe 1930s, maybe older.


(By the way, you can click any of the photos to see larger versions.)
Stripping and sanding
 You’ll have to use your imagination here because I didn’t take any photos of knocking the chair apart, stripping the paint and sanding the timber. It was a lot of work though. Trust me.
- I drew a diagram and labelled all the parts so I could keep track of of what went where
- There were small nails in four spots. I didn’t know that until I tried bashing the thing apart. I got three of them out (the wood split badly in one place)
- The chair had been painted green and then red before the white. I was surprised there weren’t more layers
Repairing the broken leg
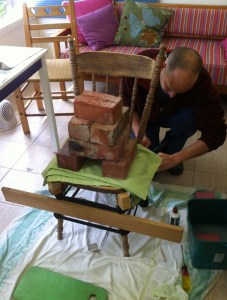
The break in the front leg was serious. It didn’t go all the way through but glue alone wasn’t going to save it. I drilled a hole about 6 cm long, coated a piece of 6 mm dowel with glue and tapped it in. This gives the break some structural support. And I shoved a lot of glue into the crack itself and clamped it.
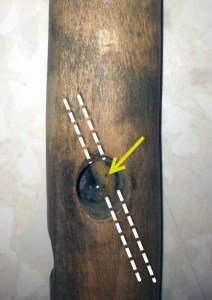
Dotted lines show the dowel alignment. Arrow points to the dowel visible through the hole for the chair rung
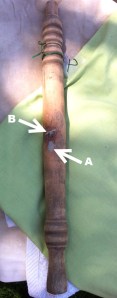
The dowel hole opening (A) and the crack (B) are now filled
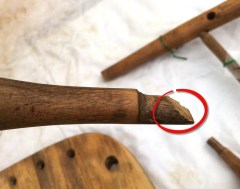
I then had to reshape the end of the chair rung so it could fit into its hole, sitting around the bit of dowel now running through it.
Re-assembling the chair
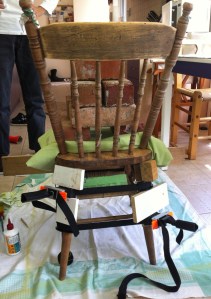
I did a dry-run assembly to make sure everything fitted properly and to work out what sequence to follow when gluing and clamping all the pieces back together.
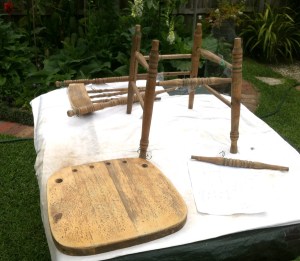
Then my assistant and I (it’s definitely not a one-person job) glued and clamped the chair in two stages: first the bottom half and then the top half the next day. It’s a really stressful exercise – making sure you get enough glue on all the right bits, wiping off the excess, getting the clamps in place before the glue goes off, arguing …
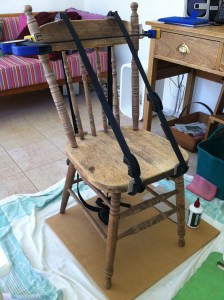
More action and more photos coming up in Part 2!

Great work demonstrating care and flair, Third Bit. I hope it’s strong enough in the repaired leg to sit on. Did you already have a similar chair? When are you going to build your atelier and take on wee apprentices?
Yeah, I hope it’s strong enough; there was not much more I could do repair-wise. I do have a similar chair – restored by Dad – but this new chair has gone to another home (you’ll need to read to the end of Part 2, which is nearly ready). Two more projects on the back burner – am looking forward to starting them.