I’m not sure if this is supposed to be a ‘how-to’ post or a show-and-tell story.*
We’re getting four of our five leadlight windows completely replaced in a few weeks, and the existing window ledges all needed to be stripped, sanded, filled, sanded, undercoated and sanded ahead of the new windows going in.
Our leadlight windows are lovely – from a distance.
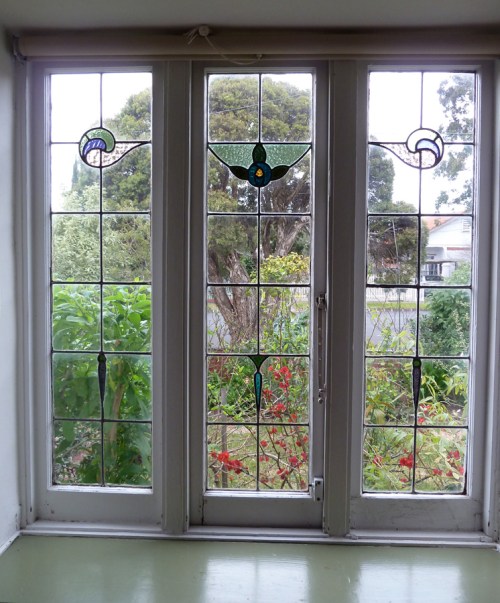
Up close they’re a mess. That’s why we’re paying someone for new ones.

Restoring the window ledges
 The original window ledges are staying but they were a mess too.
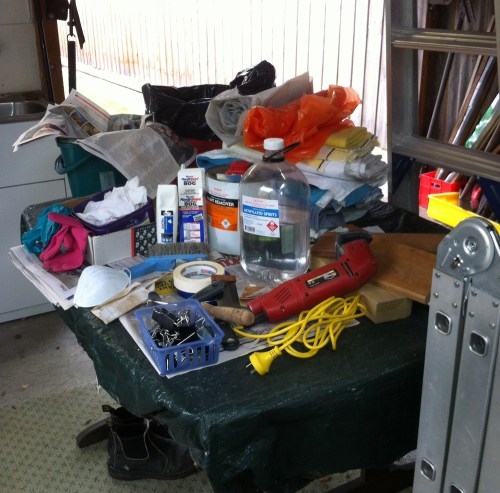
They’re not big – about 30 cm deep by 1 m or 1.5 m wide. But it still took me about about 5.5 days to prep them to the undercoat stage. Painting was easy – a couple of hours work altogether. It’s the preparation that’s the killer. If you don’t want paint stripper and sanding dust all over your furniture, polished floorboards and carpets you’ve got to use dropsheets, cardboard, newspaper, masking tape and plenty of bulldog clips.
And you also need ladders, vacuums, rags, filler, filler blades, scrapers, gloves, dust masks, metho, steelwool, sandpaper …
Stripping the paint
 I don’t like using paint stripper in the house because it’s so easy to slop crap around when you’re not paying attention and end up with it on your polished floorboards or your walls or stuck to the soles of your shoes. (We used Peel Away 8 on our door architraves – it’s less toxic but it has its own drawbacks.)
But the window ledges were small, contained surfaces and I used plenty of dropsheets and newspaper. And given that the window frames and the plaster around the windows are going in the bin, getting paint stripper on them wasn’t going to matter.
Revealing the bare timber
 Under all the layers of paint was some pretty cruddy timber. Incredibly rough. As though the builders, way back in the 1920s, had picked bits of wood off the scrap pile and said ‘yeah, that’ll do’. All 4 ledges needed a lot of sanding and some radical filling.
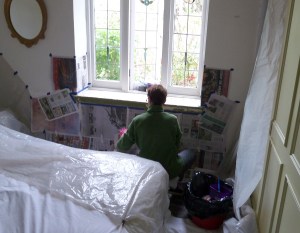
Prepping each room for sanding
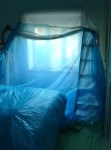
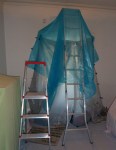
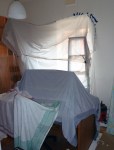
To avoid dust going everywhere I isolated each sanding area as best I could. You can get quite creative with ladders, plastic dropsheets, masking tape and bulldog clips. (Click any photo to open the photo gallery.)
-
- Like a scene from ‘Dexter’
-
- Complex and yet elegant
-

- Basic but effective
-
- Free-form
Sanding and filling the timber

 I used GSA UniFiller for the bulk of the filling, and Plasti-Bond for repairing damaged edges where a tougher finish was needed. Then I sanded back the filler using an electric detail sander hooked up to our Bosch Ventaro vacuum unit (the Ventaro’s own electric sander died recently but the vacuum is fine; it actually did a pretty neat job of catching most of the dust).
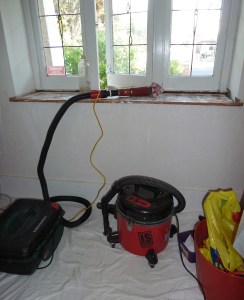
To clean up, I used our industrial vacuum and also wiped over the surfaces with metho.
Undercoating the timber
The painting was incredibly quick and easy, and the final light sand didn’t take long either.
Sure, the window ledges don’t look great just yet – it’s only undercoat after all – but one day they will. And I never have to look at that green paint again.

*Show-and-tell, as it turns out.

I didn’t understand if you were ditching the old glass and having replicas made up to the original pattern, having a new glass pattern made, or re-using the old glass pieces with new lead in new frames.
Labour of love or lunacy. Good results assured either way.
OK, I see more info is needed. The leadlight panels were cut out and taken away last Friday and the windows were boarded up. It’s dark in here. The leadlighting will be rebuilt to match the original patterns and colour schemes, using the original glass where possible, and put into new frames. And the glass will be glazed either side, giving us triple-glazing. The frames will come pre-undercoated, so we just have to top coat them. Then there’ll be a lot of replastering work to be done – not by us!