My friend Moira and I have just made ourselves a couple of lamps. We love the results but we don’t think it’s the start of a whole new craft career.
From this:

To this:

… in just a few complicated steps.
Making the lamp bases
The blocks of wood were sitting on the firewood pile in my sister’s backyard, seriously looking like they should be turned into lamps. I think they’re cypress pine; some kind of softwood, at least. I removed most of the roughness with the orbital sander, using 80 grit sandpaper, followed by the detail sander. Moira and I then spent a couple of hours hand-sanding. It was worth it because the grain, particularly the endgrain, is fantastic. So smooth! We finished off the blocks with two coats of Danish oil, although to be honest they looked great without the oil.


Drilling the hole for the wiring
My usual project assistant (aka my husband) helped with this part of the exercise. What we learned was you can’t drill a hole through a big block of wood with a hand-held drill and make that hole perfectly vertical (and not have an argument). The hole also had to be drilled from both ends because the block was taller than the drill bit length, and it didn’t help that the blocks weren’t completely square and the bases weren’t flat. We used a spare block to practise on; now it really is firewood.
To solve the drilling issue we bought a vertical drill press, as you do. Unfortunately, the drill press didn’t have enough height for the job. With the 12 mm drill bit fitted, there wasn’t room to slide the block in underneath. So we added an extension to the mount using a thick piece of timber. Hours of fun for everyone.


Fitting the electrical parts
 The electrical bits are a deconstructed IKEA Hemma lamp, which was cheaper than buying the individual components from a hardware shop. The vertical stand is a hollow metal pipe and we cut it to the required length. The switch had to be pulled apart so the power cord could be threaded through the block but that wasn’t too tricky, assuming you know what you’re doing when it comes to wiring.
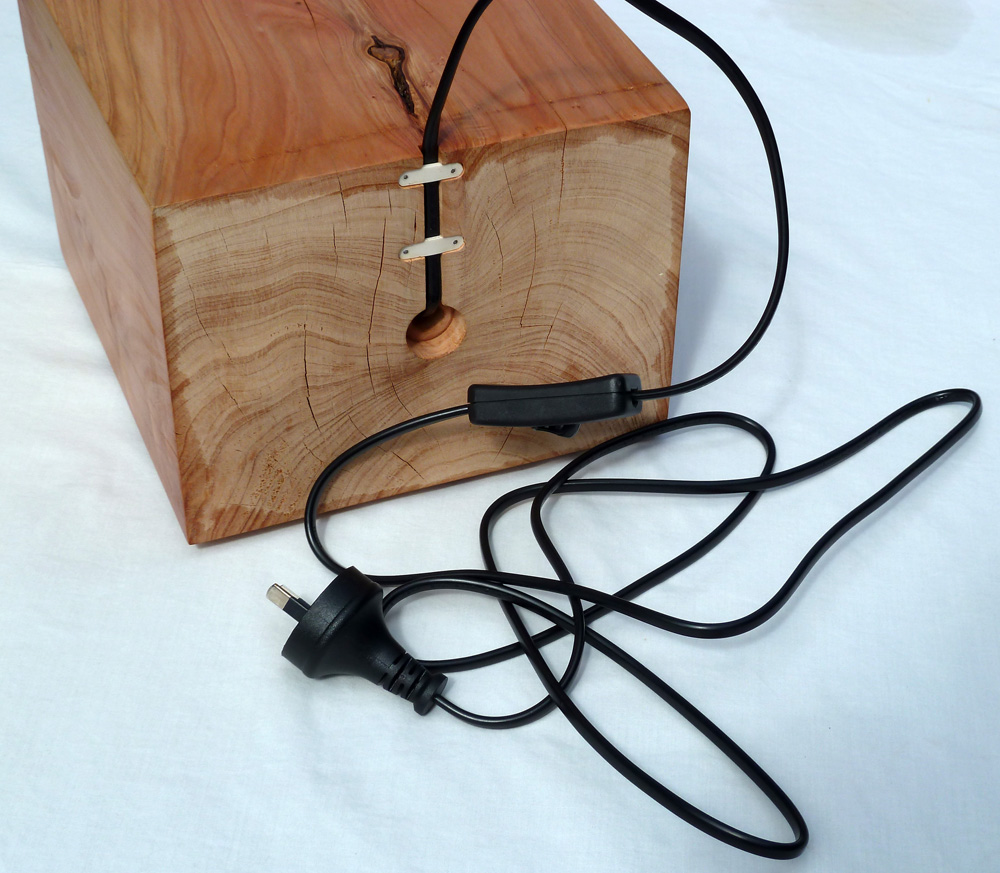
On the underside, we used a router to cut a groove for the power cord and we made some little plastic brackets to hold the cord in place. I say ‘we’ but I didn’t do any of this work.

(FYI. The letter E came from company signage on the outside of a building I worked in a while ago.)
So far so good. Now read Part 2 – how we made the lampshades.

I can’t wait for Part 2 and I was there. Great job! The Internet should be going off by now.
Your nimble fingers were the key to the project’s success. Such skill with the nail file!